Linux as an open source operating system has been favoured by those who have the technical know-how and are fed-up of Microsoft Windows lack of freedom as well as privacy. But compared to Windows, Linux requires commands that need to be used for basic functions such as setting date or time, changing password or even logging out of the system.
While the professionals are aware of these commands and steps, when it comes to beginners on the Linux platform, they could have some tough time figuring out the methods.
Starters must make sure that they press Enter to invoke these commands. Incase you get stuck with any particular command, then add –help at the end of your command. E.g. clear—help.
Following set of commands will enable any beginner Linux user to master the art of using the open source platform.
Command 1 : clear
With Linux, there is always the possibility of typing lots of commands, which begs for clean window for you to focus on the job. All one needs to do is type
clear and the command prompt is cleaned up.
The use of clear is also helpful when long commands are typed in and user does not want to get confused by other details on the window.
Command 2: date
By typing date, followed by the two digit month, the two digit date, the two digit time, and two digit minutes, you could change the date and time settings on the system. Kindly note that the command is helpful when you are logged in as root. Otherwise you will get an "Operation not permitted" reply.
Command 3: df
We have become accustomed to keeping a check on the space available on our system, be it Windows or Linux desktop. You could check the available disk space on your Linux system by typing df, which offers file system disk space.
Command 4: logout
As the name itself suggests, typing log-out will log you out of the system. This command is used to disconnect from Linux machine or to log-out from a specific user session on the system. User must remember that leaving accounts logged on may lead to security issues.
It is highly recommended to use log-out when the task is finished.
Command 5: passwd
Changing passwords have become an essential utility these days with the amount of system hacking and attacks being reported. For Linux users, the code is 'passwd' and press enter, which will show you the 'Change password' window for your name. You will be first asked to type in the old password and press enter. Type the new password of your choice, twice and voila, it's done.
And some other usefull commands-
man man : will bring up the manual entry for the
man command, where man is manual.
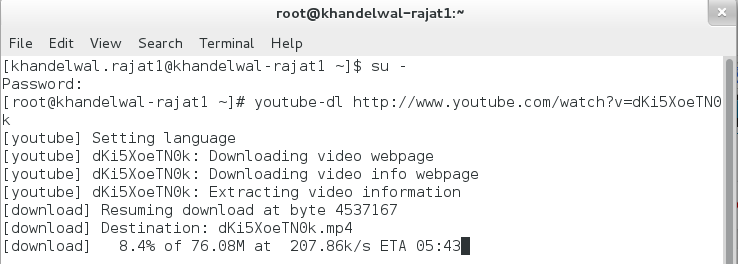
su : Super User rights from within the terminal
sudo : Super user run this command
ls : List directory contents
cd : Change directory.
cd /dirname : Jump change to directory or folder.
apt-get install : Gets app from web and installs (for ubuntu).
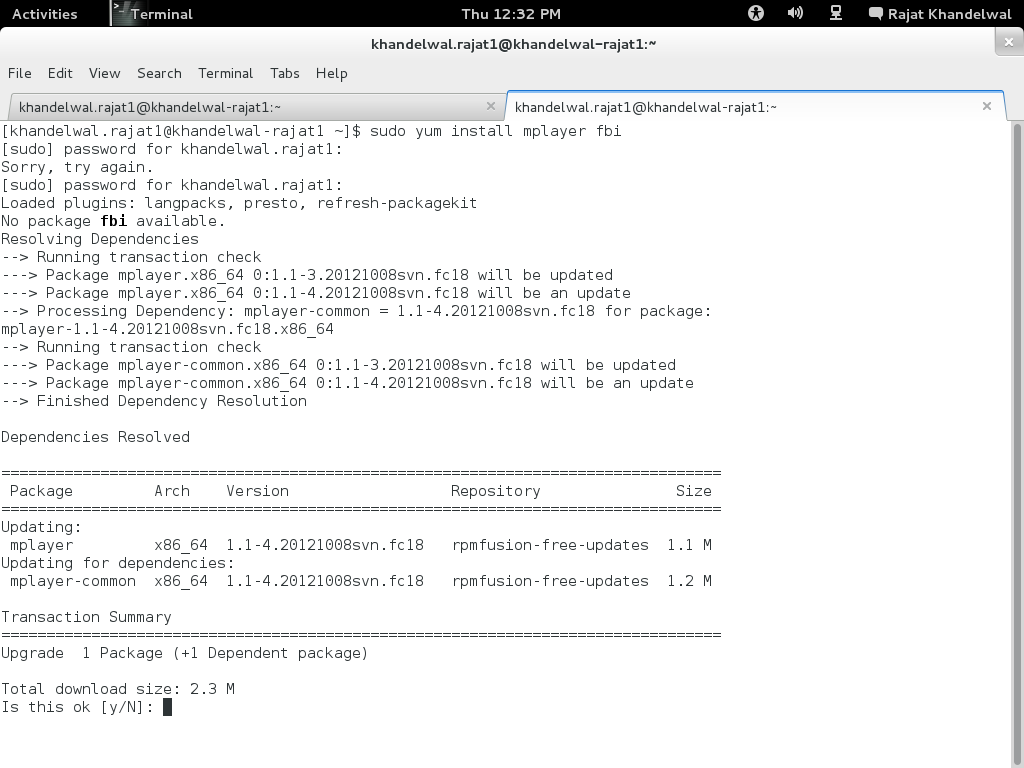
Yum install : Gets app from web and installs (for Fedora).
apt-get update : Updates the database from the repositories(for ubuntu).
yum update : Updates the database from the repositories(for Fedora).
reboot : Reboots system
halt : Turn off the system.
e
xit : Exits from terminal or moves back a user level
cp oldfilename newfilename : Copies a file from oldfile to newfile.
mv oldfile newfile : Will overwrite the oldfile with the newfile
rm filename : Is used to delete files.
rm -R filename :To remove a directory, you must use the
-R option
lsb_release -a: The
lsb_release command with the
-a option prints version information for the Linux release you’re running
cal : Prints the calender.
Pwd : Prints the current working directory.
If you are planning to go a step ahead. Then you might consider learning shell scripting.
Open a text file and write the script that you want to run and make it executable so that when ever you execute that command you will the whole process written in the text file executes.
In UBUNTU for example consider you want to open a terminal from one terminal through terminal from the written script. Then in a text file write the following code
#!/bin/sh
gnome-terminal;
echo “new terminal has been opened”
Once you have done save it with a extension (
.sh) and now you will have to make it executable type this command in a terminal
chmod +x filename.sh
Then,
Run it using
./filename.sh
[contact-form][contact-field label='Name' type='name' required='1'/][contact-field label='Comments' type='textarea'/][/contact-form]


")

